A few weeks ago I decided to teach myself wire weaving. With a tutorial from JewelryLessons.com called Forgotten Rose Garden Ring I learned several wire weaving tips and tricks.
Eclectic handmade jewelry often from recycled and unusual items with some personal rambling thrown in. Please visit my Etsy Store at TracyBell.etsy.com If you see something you would like to purchase on this blog please contact me @ Beadbug at usa dot com
Showing posts with label copper. Show all posts
Tuesday, April 22, 2014
Wednesday, January 23, 2013
Porthole Necklace
This necklace was meant to be made with a glass cabochon, I didn't have any on hand and really wanted to try this project so I decided to use a domed a beer cap to use instead. I couldn't be happier with the finished piece.
![]() |
| Porthole Necklace made from a Bell's Beer Cap $20.00 |
For my second try at this project I dapped a circle I cut from an antique tin. It's to bad the photo doesn't pick up the texture of the tin because it has a bit of a pebbled feel to it. The original project
didn't have anything hanging off the bottom but as you know from past projects it would be like sending something off naked without dangles. This one is held together with rivets instead of the sewing method and the simplicity of it is perfect with the busy tin picture.![]() |
| Porthole Necklace made from an Antique Tin $20.00 |
Tuesday, January 22, 2013
Sunday, January 20, 2013
Peacock Necklace
Barb Reed made these beads and I fell in love with them, she said take them see what you can make with them so I did, you don't have to tell me twice. They have been sitting on my little shelf for several months just waiting for an idea to come along and last night that idea hit me like a sledge hammer. I kept seeing them as peacock feathers so that feather shape was what I used for the links. Barb has and Etsy and Artfire store, if you're interested in seeing more click on the links.
![]() |
| Peacock Bead Necklace 20 inches long. |
Saturday, January 19, 2013
Cumberbun Bracelet
This is another of the Aspire To Wire E-course projects. I really love the fit of this bracelet but it would be hard to make it adjustable so it won't be making it into my regular line of jewelry. I may make a few just because they are such a wonderful shape and would be great for folks who sit at a computer since it fits so nice next to the wrist and it won't hinder typing.
| Cumberbun Bracelet $55.00 |
| I etched some copper and it really spiced up the the back of the bracelet. |
Tuesday, January 15, 2013
Horse Shoe Link Necklace
I have been working through the Aspire To Wire E-course with Kerri Bogert and this project was one that I really ended up liking. I used 14 gauge recycled wire and beads made a long time ago while practicing stripes, they are a miss matched bunch that worked well for this practice piece. I like the horse shoe shape and the way the links move so much I'm going to keep this one for myself, with hopes that the next one will go quicker. The clasp has been shaped to look like the rest of the links, it's a tight fitting hook that hopefully will blend with the necklace well enough to not be ugly if it ends up in the front like they always do.
![]() |
| 20 inch long Horse Shoe Link Necklace NFS |
Saturday, September 3, 2011
Little Copper Treasure Tubes
I decided to tackle the Treasure Boxes to Wear tutorial in the June 2011 Belle Armoire Magazine. I must say that it's my favorite magazine and I love their photography but... sometimes they truly need to focus a bit more on the how to and a bit less on the beautiful photography if the really think folks are going to make these things. The authors of these tutorials most likely write a whole lot more than actually gets into the magazine and I think they cut to much out of this particular tut. The tutorial was wrote by the very talented Denise Petersen of the Reinvented Objects blog, if you get a chance go over and check out the rest of her amazing work.
There is a huge learning curve when trying to apply an even layer of solder to an curved object and to be honest I never did get it down and I gave up after about 8 tries. I did get 5 of this style to turn out but to be honest I wasn't that thrilled with the look for all the work it took. Although I loved Denise's mine were much less refined, I'll call them rustic. Here is what I ended up with from the tutorial.
After trying to make a bunch of these I had an idea to just leave off the soldered outer coating. Although I love the look of it the fact was it just wasn't turning out like I wished it had, I would heat one spot to attach something and another piece would slide off. Once I did my own thing they turned out quite nice and yes, there are two boxes that say BITE ME for my friend Melissa of the blog One-Earedpig Beads :) Now to turn them into some funky necklaces, photos to come.
There is a huge learning curve when trying to apply an even layer of solder to an curved object and to be honest I never did get it down and I gave up after about 8 tries. I did get 5 of this style to turn out but to be honest I wasn't that thrilled with the look for all the work it took. Although I loved Denise's mine were much less refined, I'll call them rustic. Here is what I ended up with from the tutorial.
| Treasure Boxes 2" tall and very "rustic" |
| Treasure Tube |
| My version of the Treasure Boxes that I'm going to call Treasure Tubes, 2" tall tip to tip |
Friday, August 5, 2011
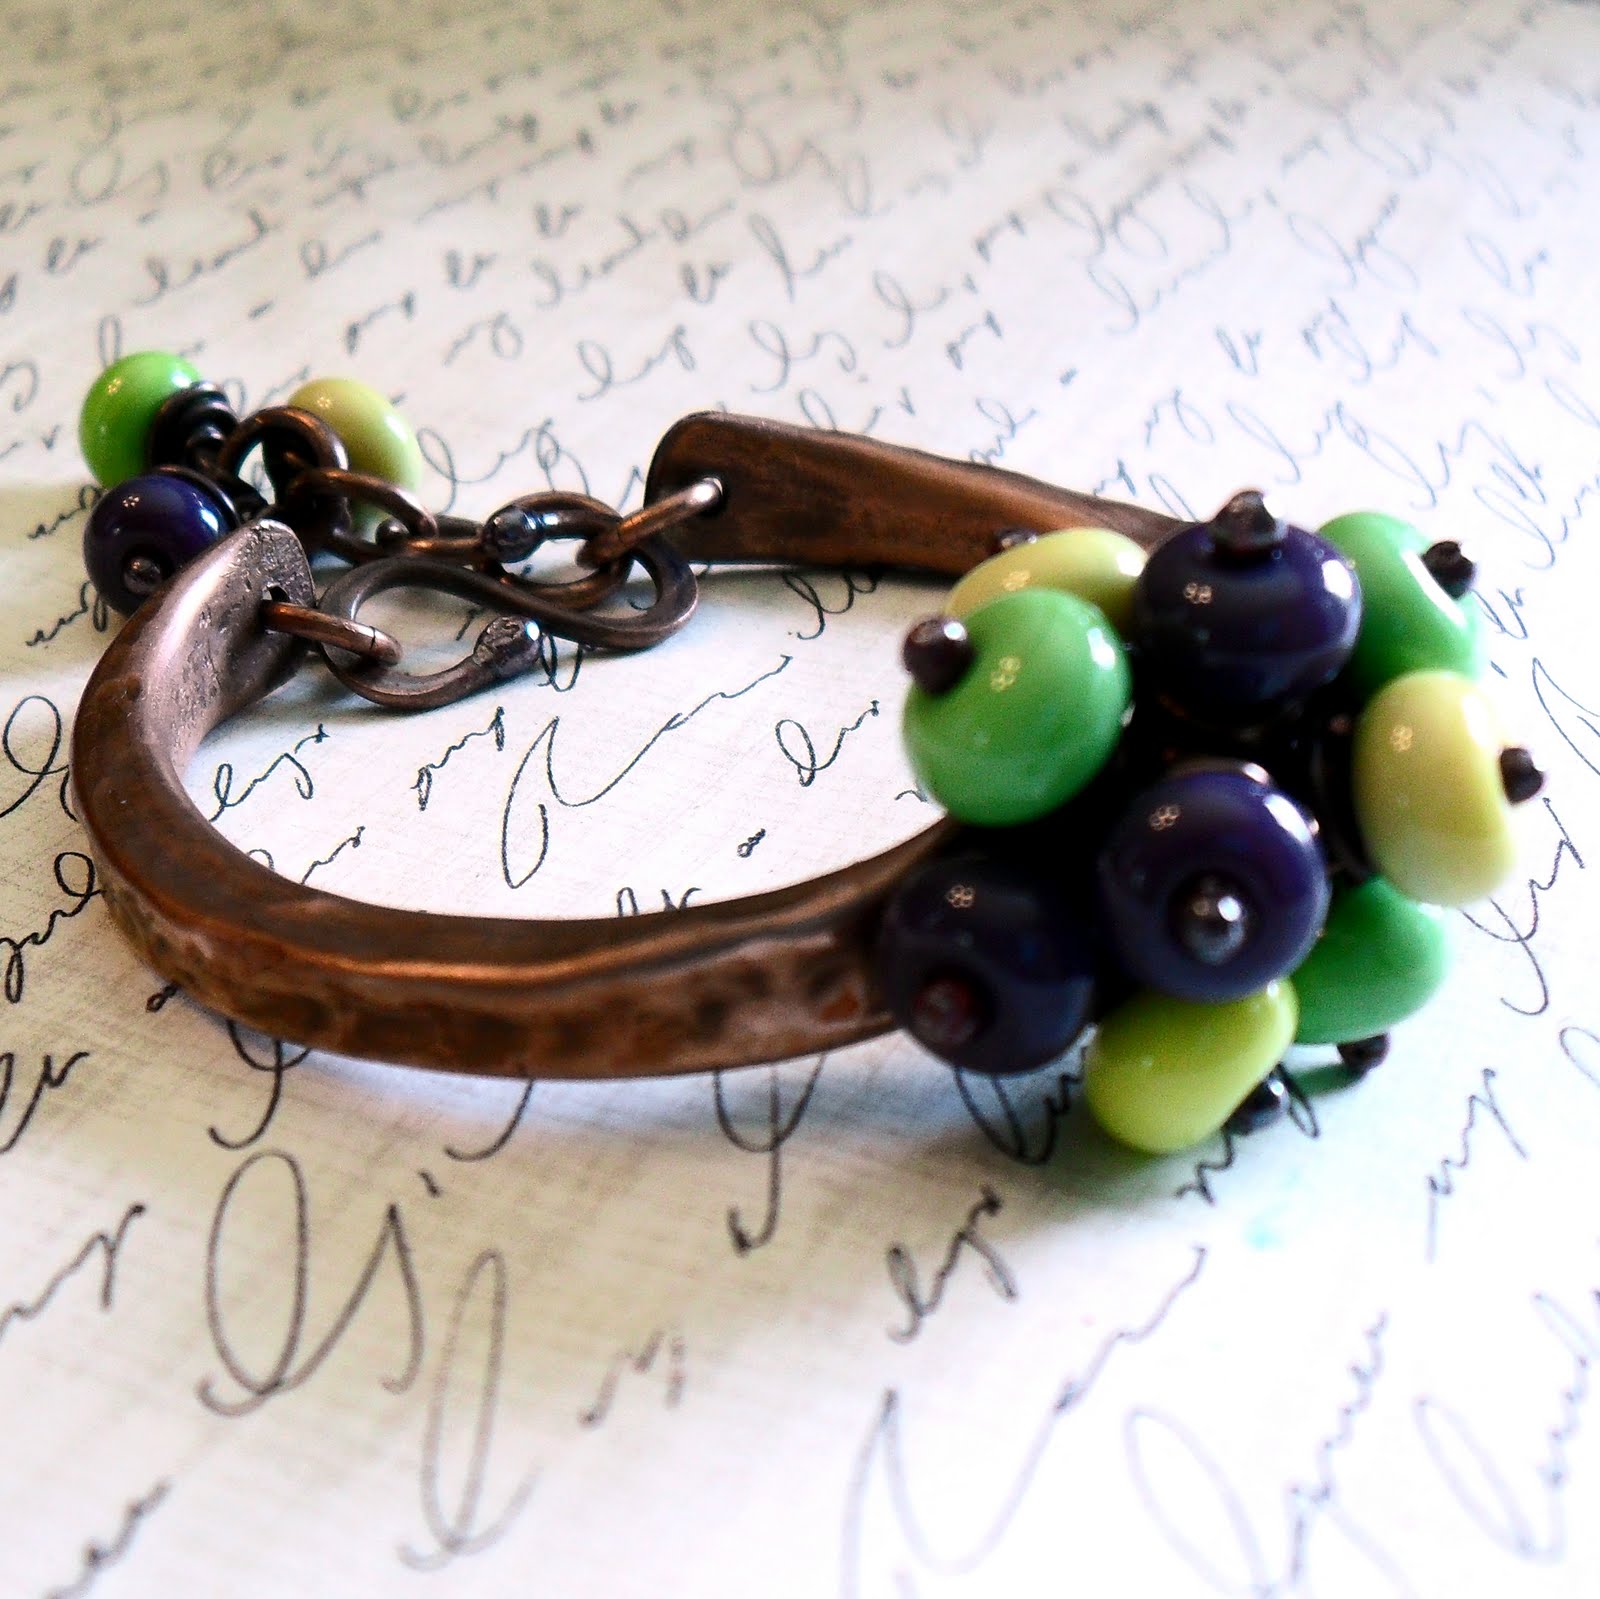
Bouquet Bracelets
| Bouquet Bracelet out of copper n glass |
| Bouquet Bracelet in purple, yellow and green. |
| Bouquet Bracelet made up in beautiful silver glass. SOLD :) |
| This one doesn't photograph well but is beautiful shades of navy, green and burgundy. |
Wednesday, July 20, 2011
Copper Clay
Here are some of the copper clay pieces I made in class and on vacation. I played with two kinds of clay Art Clay Copper and CopprClay, I hated the Art Clay Copper it was sticky and stretchy, there is a place for it I hope but for now I am going to stay with the CopprClay. It takes a longer firing time and you have to use the little pot and coconut carbon firing media to stop oxidation but the ease of use is worth the extra trouble. I am thrilled with my results and can't wait to play with it again but am going to wait until all my pieces are fired.
These are the copper after being fired and tumbled for an hour.
|
| These have been fired but not tumbled yet, the little black fibers you see are the coconut carbon they were fired in. |
| Here are some pieces that have not been fired yet. |
Friday, October 15, 2010
Brangles
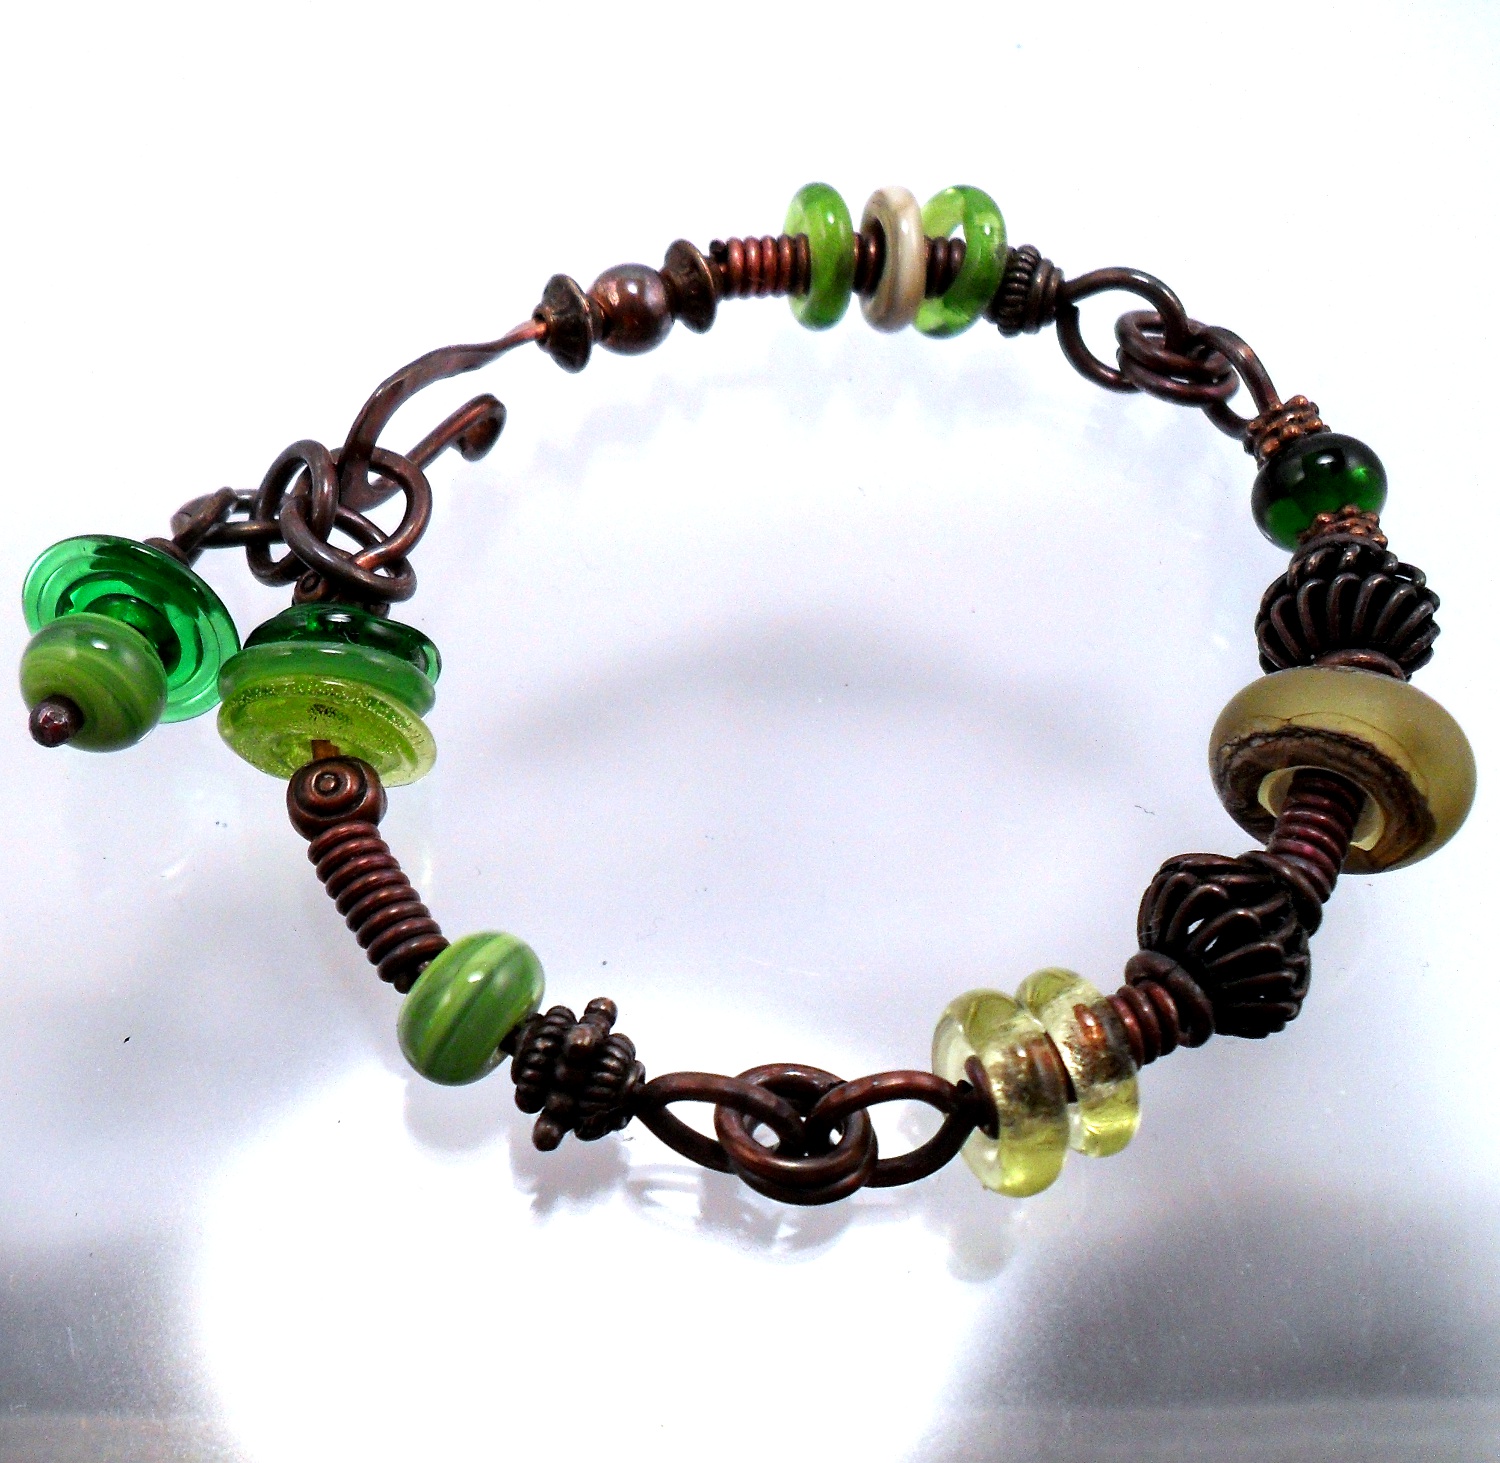
I thought I would share with you one of my favorite bracelet styles, it's called the brangle beacuse it isn't a bangle. A bangle would be stiff wire all the way around, these bracelets are made with 3 sections 14 gauge wire that are linked to make the bracelet move easily on the wrist. I prefer these over a bangle because they are adjustable and sit comfortably while typing and doing other tasks with your hands. Using big holed beads that move back and forth on the coil sections of the bangle give it some unexpected movement.
After pulling up the photos I realized that they are all turquoise and green, you can tell what my favorite colors are.
What is your favorite color for jewelry and clothing?
After pulling up the photos I realized that they are all turquoise and green, you can tell what my favorite colors are.
What is your favorite color for jewelry and clothing?
Subscribe to:
Posts (Atom)